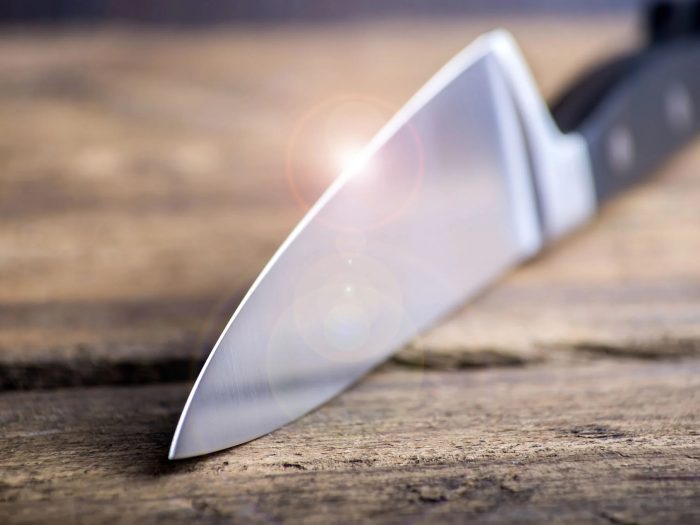
In the culinary world, a sharp knife is an indispensable tool that can make all the difference between tedious meal prep and effortless slicing and dicing. However, even the finest blades can lose their edge over time, leaving you with dull knives that frustrate your cooking experience. While professional knife sharpening services are an option, there are also many simple and cost-effective DIY sharpening hacks you can try at home. In this guide, we’ll share 7 ingenious DIY knife sharpening hacks that will help you bid farewell to dull knives and keep your blades razor-sharp without breaking the bank.
Hack #1 – The Trusty Whetstone
One of the most traditional and effective DIY knife sharpening methods is the trusty whetstone. This time-honored tool has been used for centuries to hone and sharpen blades, and for good reason. Whetstones come in various grits, from coarse to fine, allowing you to gradually refine and polish your knife’s edge.
To use a whetstone, simply lubricate it with water or honing oil, and maintain a consistent angle (typically 15-20 degrees for most kitchen knives) as you slide the blade across the stone. Start with a coarse grit to establish the initial bevel, then progress to finer grits for a razor-sharp finish.
Hack #2 – The Humble Sharpening Rod
Every kitchen should have a sharpening rod, also known as a honing steel or sharpening steel. While this tool doesn’t actually sharpen the blade, it’s essential for realigning the edge and maintaining the sharpness between full sharpenings.
To use a sharpening rod, hold it vertically on a stable surface and place the knife’s blade at a 20-degree angle against the rod. With a smooth, consistent motion, draw the blade towards you while maintaining the angle. Repeat on both sides of the blade for optimal results.
Hack #3 – The Sandpaper Trick
If you don’t have access to a traditional whetstone, don’t worry – a simple piece of sandpaper can work wonders for sharpening your knives. Look for high-grit sandpaper (600-grit or higher) and attach it securely to a flat, stable surface like a piece of wood or a countertop.
With the sandpaper acting as your makeshift whetstone, maintain a consistent angle (15-20 degrees) and slide the blade across the abrasive surface, applying gentle pressure. Repeat the process on both sides of the blade until you achieve the desired sharpness.
Hack #4 – The Ceramic Mug Hack
Believe it or not, a simple ceramic mug can serve as an effective DIY knife sharpening tool. The unglazed bottom of a ceramic mug provides a slightly abrasive surface perfect for honing and refining your knife’s edge.
To use this hack, place the mug upside down on a stable surface and hold the knife at a 20-degree angle against the unglazed bottom. With a smooth, consistent motion, draw the blade across the ceramic surface, applying gentle pressure. Repeat on both sides of the blade until you achieve the desired sharpness.
Hack #5 – The Concrete Curb Trick
If you’re in need of a quick and easy DIY knife sharpening solution, look no further than your nearest concrete curb or sidewalk. The rough surface of concrete can act as a makeshift sharpening stone, allowing you to restore the edge of your knives in a pinch.
To use this hack, find a clean, dry concrete surface and hold the knife at a 20-degree angle against the concrete. With a smooth, consistent motion, draw the blade across the surface, applying gentle pressure. Repeat on both sides of the blade until you achieve the desired sharpness.
Hack #6 – The Aluminum Foil Trick
If you find yourself without any traditional sharpening tools, you can turn to a simple household item – aluminum foil. While not as effective as a whetstone or sharpening rod, aluminum foil can provide a quick and easy way to touch up your knife’s edge.
To use this hack, fold a piece of aluminum foil into several layers to create a sturdy surface. Place the foil on a stable surface and hold the knife at a 20-degree angle against the foil. With a smooth, consistent motion, draw the blade across the foil, applying gentle pressure. Repeat on both sides of the blade until you achieve the desired sharpness.
Hack #7 – The Bottom of a Ceramic Bowl
Much like the ceramic mug hack, the unglazed bottom of a ceramic bowl can also serve as an effective DIY knife sharpening tool. The slightly abrasive surface can help hone and refine your knife’s edge, leaving you with a sharper blade.
To use this hack, place the ceramic bowl upside down on a stable surface and hold the knife at a 20-degree angle against the unglazed bottom. With a smooth, consistent motion, draw the blade across the ceramic surface, applying gentle pressure. Repeat on both sides of the blade until you achieve the desired sharpness.
Say goodbye to dull knives and elevate your culinary experience
With these 7 ingenious DIY knife sharpening hacks, you can say goodbye to dull knives and elevate your culinary experience without breaking the bank. From the trusty whetstone to unexpected household items like ceramic mugs and aluminum foil, these budget-friendly solutions will keep your blades razor-sharp and your meal prep a breeze.
Remember, consistency and maintaining the proper angle are key to successful DIY knife sharpening. If you’re ever in doubt or prefer the expertise of professionals, consider scheduling a consultation with our knife sharpening experts. We’ll ensure your knives receive the specialized care and attention they deserve.
So why settle for dull knives when these simple hacks are within reach? Subscribe to our newsletter to receive more valuable tips and tricks for maintaining your kitchen essentials, and embark on a journey toward effortless slicing and dicing with sharp, well-maintained blades.

